Settings
Open Settings with Cmd+,. It is a single window with a left rail of panes: Account, Usage, Your own AI, General, MCP Connections, Permissions, Shortcuts, and About (Permissions is macOS-only; MCP Connections is desktop-only). This page walks each one at a glance, and closes with a platform-support matrix so you know what changes between macOS, Windows, and Linux. This is the desktop app's Settings; your account, profile, teams, and billing on the web have their own home at Settings and your account.
Account
Sign in to your Brilliant account and manage your subscription (usage has its own Usage tab). This is your identity and billing home; connecting AI providers happens in the Your own AI pane.
While you're signed in, a few preferences follow your account from machine to machine: your keyboard shortcuts, theme, density, and any extra models you've added. Your API keys never sync. They stay in your device's own credential store and go nowhere else.
Usage
Your AI usage at a glance: the Brilliant AI meter, a percent used with a reset date, and the Your own AI card. Both AI lanes report here in one place.
Your own AI
Your own AI (your own keys and coding agents) is where you connect the models the built-in chat runs on. Brilliant's chat runs on Brilliant AI by default. On your own AI, requests go straight from the app to the provider you chose and your keys never touch Brilliant's servers.
Claude Code leads the list. It has no API key, since it uses the local Claude Code binary and your own Claude subscription, so it shows a connection status instead of a key field.
API-key providers (Anthropic, OpenAI, Google, OpenRouter, and Quiver for image generation) each take a key, shown masked once set. Keys are encrypted in your system keychain and never shared with Brilliant.
Custom providers let you add any OpenAI-compatible endpoint.
Playground replays bundled demo conversations so you can see how the agent behaves before connecting anything.
For the full walkthrough of providers, models, and how to pick between them, see Providers and models.
General
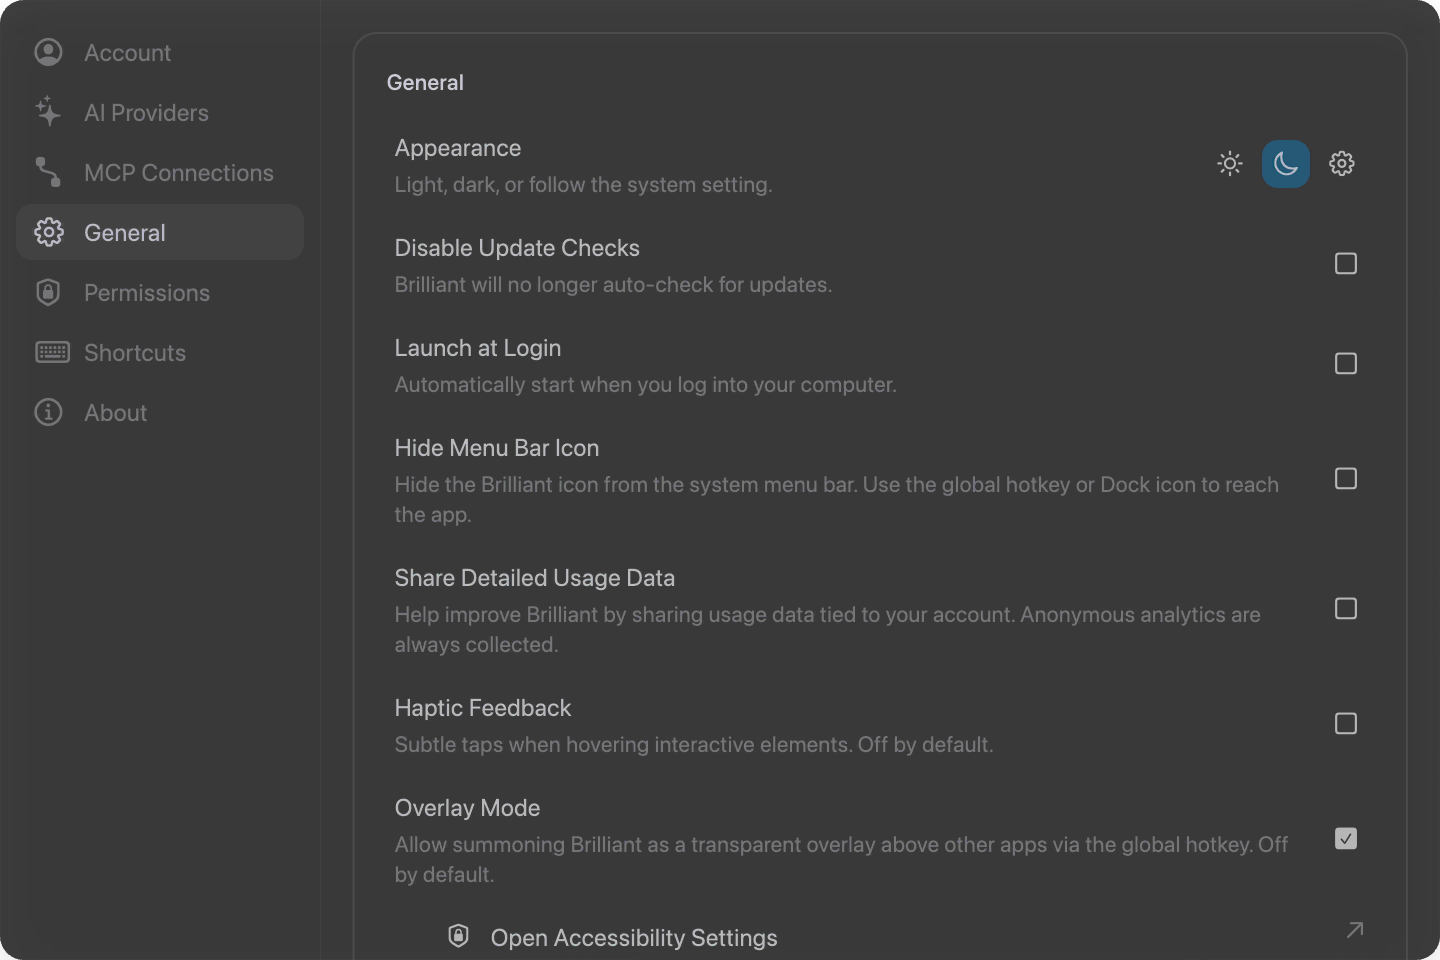
App-wide preferences:
Appearance: light, dark, or follow the system setting.
Disable Update Checks: stop Brilliant from checking for new versions.
Launch at Login: open Brilliant when you sign in.
Hide Menu Bar Icon (macOS): hide the icon from the system menu bar; reach the app via the global hotkey or the Dock.
Share Detailed Usage Data: opt into usage data tied to your account. Anonymous analytics are always collected.
Haptic Feedback (macOS): subtle feedback on a Magic Trackpad.
Overlay Mode (macOS): enable the transparent, always-on-top overlay window and its accessibility setup.
MCP Connections
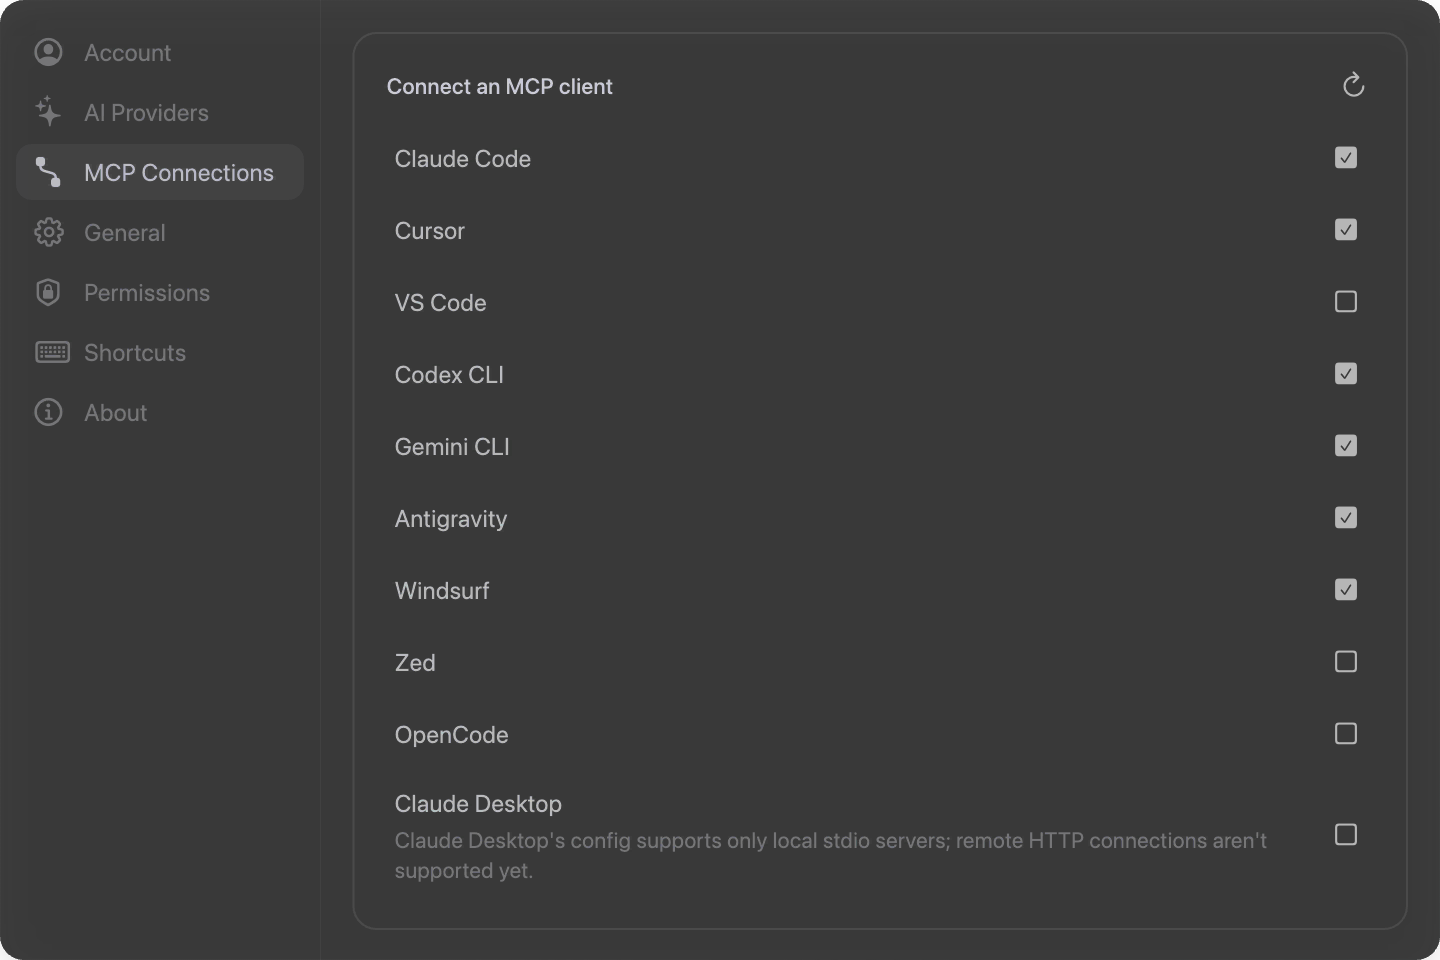
Wire external MCP clients (Claude Code, Cursor, VS Code, Windsurf, and more) to Brilliant's local MCP server, so an agent in your editor can drive the canvas. Each row toggles whether Brilliant is in that tool's MCP config, read fresh from the config file every time. A refresh button re-reads the configs. Stdio-only clients that cannot take a remote URL yet (Claude Desktop) sit at the bottom as a non-actionable note.
To actually set up an agent end to end, see Connect an Agent.
Permissions (macOS)
This pane is macOS only. It shows the two system permissions Brilliant may need, each with a link straight to the right pane in System Settings:
Accessibility: enables window management and the global hotkey.
Screen Recording: enables the snip tool and the color picker's eyedropper to read the screen.
Shortcuts
A quick-actions strip of the shortcuts most people rebind (global search, command palette, canvas search, AI input, and hide chrome), plus an All keyboard shortcuts link into the full reference where every command is remappable. That full panel is also one Shift+? away from anywhere. See Keyboard shortcuts for the complete list.
About
The app version and update status (click to see what is new), links to Help and docs and Send feedback, and a row of community links (X, GitHub, Discord, YouTube, Instagram).
Platform-support matrix
Brilliant runs on macOS and Windows. Most features are identical on both, but a few depend on platform capabilities. Here is what differs.
| Feature | macOS | Windows |
|---|---|---|
Snip tool (screen capture, S) | Yes | Not available |
| Video export (MP4, Replay) | Yes | Yes |
| MOV and transparent video export | Yes | Not available |
| Overlay mode (transparent always-on-top layer) | Yes | Not available |
| Passthrough (click-through in overlay) | Yes | Not available |
| Permissions pane | Shown (Accessibility, Screen Recording) | Hidden (not needed) |
| Haptic feedback | Magic Trackpad only | Not available |
| Global hotkey (overlay toggle) | Ctrl+F, fires even when unfocused | Unbound by default |
Where a feature is not available, its command and any menu entry simply do not appear.
Windows-remapped shortcuts
On Windows, the app substitutes Ctrl for Cmd automatically, which makes a few macOS chords collide with essential Windows shortcuts. Those are either unbound or moved to a free chord. You can reassign any of them in the Shortcuts panel; they also stay reachable from the command palette and inspector.
| Command | macOS | Windows |
|---|---|---|
| Fit all content | Cmd+Ctrl+A | Alt+A |
| Color selector | Ctrl+C | Alt+C |
| Eyedropper | Ctrl+Shift+C | Alt+Shift+C |
| Zoom to selection | Cmd+Ctrl+F | Alt+Z |
| Disable zoom out | Cmd+Ctrl+D | Alt+D |
| Duplicate canvas | Cmd+Ctrl+N | Alt+N |
| Rotation levels 0 to 9 | Cmd+Ctrl+0 to 9 | Alt+Shift+0 to 9 |
A handful of macOS defaults are unbound on Windows entirely, because their remapped chord would collide with a core editing command: the quick colors (Ctrl+R/G/B/Y/O/P/W/K), the gradient colors (Ctrl+D/L), Outline Text (Cmd+Ctrl+O), Center on selection (Cmd+Ctrl+C), and the blue, green, and red highlighter combos. Set those from the inspector or the command palette instead. The full breakdown is on the Keyboard shortcuts page.
Next
Pick and connect a model: Providers and models.
Drive Brilliant from your editor: Connect an Agent.
Remap any key: Keyboard shortcuts.