Connect an AI Provider
A fresh install runs on Brilliant AI: your first message just works, with no key and no setup, on the Brilliant AI usage Free includes every month, part of it usable before you sign in. This page is for the other lane, your own AI.
You do not need a provider to send prompts. Connect one when you want to run the chat on your own AI instead (Free allows 10 messages a day on your own AI; any paid plan removes that cap). You have two paths:
Bring your own API key from Anthropic, OpenAI, Google, or OpenRouter. Pay-per-use, billed by the provider.
Route through your Claude Code subscription if you already have one. No separate API key required; Brilliant uses the Claude Code CLI to talk to Anthropic on your behalf.
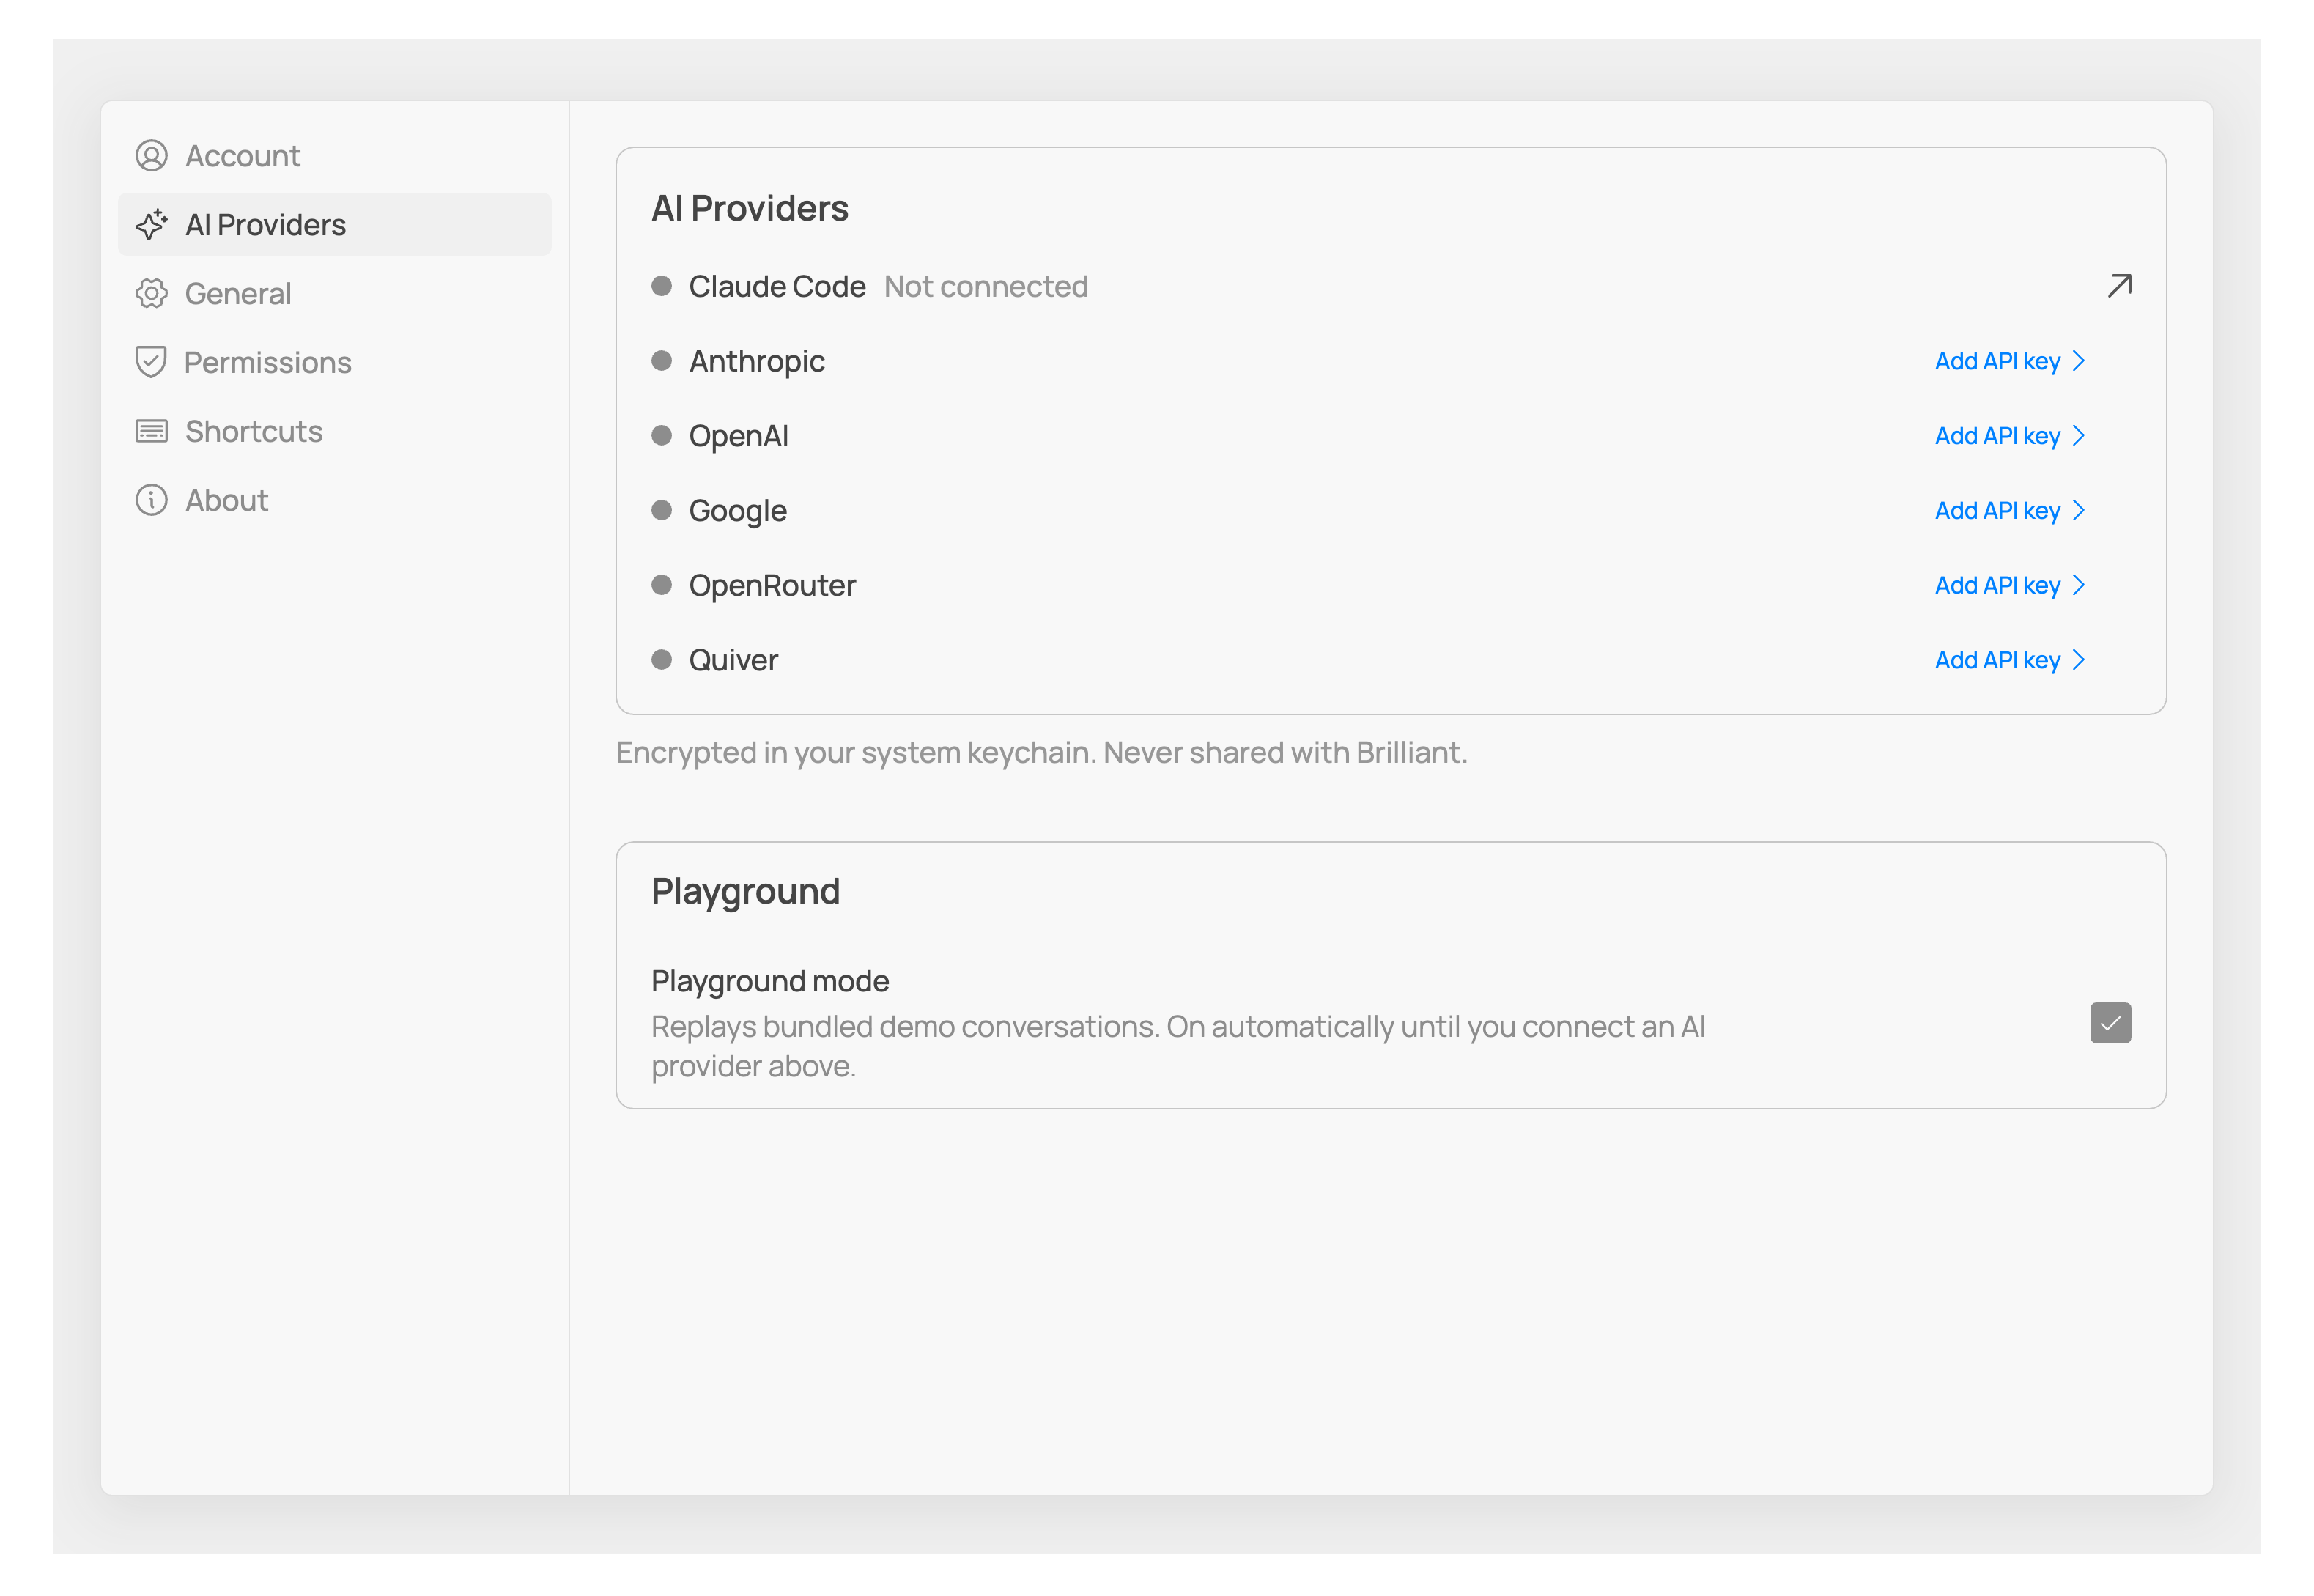
Both are managed from the same place: Settings → Your own AI. The moment you connect one, it appears in the chat's model selector.
If you'd rather drive Brilliant from an external editor like Cursor or Claude Code instead of the integrated chat, you don't need to connect a provider here. Head to Connect an Agent instead.
1. Open Settings → Your own AI
Two ways in:
Click the connection indicator at the left of the AI chat input in the bottom toolbar. It tracks your own AI: a checkmark means one of your own providers is connected, an X means none is (Brilliant AI needs none of them and works either way). Clicking it jumps straight to the Your own AI pane.
Press ⌘, to open Settings, then pick Your own AI in the sidebar.
Hovering the indicator also pops out a small status list, but it's display-only. Every action lives in the Settings pane.
2. Connect a provider
Option A: Bring your own API key
For Anthropic, OpenAI, Google, or OpenRouter, click Add API key on the row, paste the key, and confirm. The status dot turns green and the row swaps to a connected state.
Anthropic: direct API access to Claude models.
OpenAI: direct API access to GPT models.
Google: direct API access to Gemini models.
OpenRouter: a meta-provider with a single key for dozens of models across vendors. Useful if you want to try different models without juggling keys.
You can connect more than one. Switch between them later from the model picker in the chat itself.
Option B: Use Claude Code
If you already have Claude Code installed and signed in on a Pro, Max, Team, or Enterprise plan, the Claude Code row will show as connected the moment you open the pane. Nothing else to do; Brilliant routes through the CLI and bills against your existing Claude subscription. (On a free tier the row reads as not connected, since the CLI can't drive the integrated chat there.)
If you don't have it yet, install it and sign in from your terminal first:
Follow the Claude Code install guide for your OS.
Run
claudeonce and complete the browser sign-in flow.Reopen Settings → Your own AI in Brilliant. The Claude Code row picks up the existing login.
Once connected
Send a prompt from the AI chat input. Brilliant uses whichever provider you selected, and you can swap providers any time by reopening the pane.
About Playground mode
Playground replays bundled demo conversations so you can scrub a real session with no network call. It is not a fallback: it is a toggle at the bottom of the Your own AI pane, the onboarding step plays one recorded session, and the /playground page on the website is the guided demo for visitors.
Note on Quiver
The same pane also has a Quiver row. Quiver isn't a chat model. It's the API behind Brilliant's AI vector generation and image-to-SVG conversion. Connecting it unlocks those features but has nothing to do with the chat.
Next
Design with the built-in agent: Your First AI Chat walks through prompting, element references, and iterating.
Drive Brilliant from your editor: Connect an Agent sets up Claude Code, Cursor, Codex, and others.