Your First AI Chat
Brilliant has an AI chat built directly into the canvas. It's not a generic LLM you paste screenshots into and copy answers out of. It's an agent that reads your current file, sees what you have selected, and runs real design commands on your behalf: creating elements, modifying properties, running layout commands, searching across canvases, and exporting frames. You describe the outcome in plain English, and the agent instantiates it on the canvas while you watch.
The chat is designed for long conversations. It keeps a running transcript, carries context across turns, can run dozens of tool calls back-to-back to build something up, lets you pause and course-correct mid-stream, and supports multiple parallel chats so you can experiment in one while keeping another intact. You can feed it element references (copy-paste, or @-mention), inline images, and picked colors, and it will cite its work with progressive on-canvas previews as each step lands.
If you'd rather drive Brilliant from an external editor like Cursor or Claude Code, head to Connect an Agent instead.
1. Open the AI chat
The AI chat lives in the bottom toolbar, collapsed until you call it. There are three ways to open it, all of which land you in the same focused input:
Click the AI input at the bottom of the canvas. Fastest if your cursor is already near the bottom of the screen.
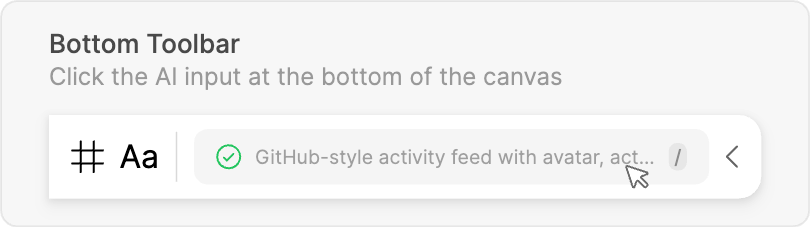
Press / anywhere on the canvas. The fastest way if you're mid-design and don't want to move the mouse.

Press ⌘K to open the global search and type focus ai chat. Useful if you've already remapped your shortcuts and can't remember the new binding.

Once you're in, the chat panel slides out from the side. You can dismiss it with Esc or by clicking anywhere on the canvas; your draft message is preserved, so reopening picks up exactly where you left off.
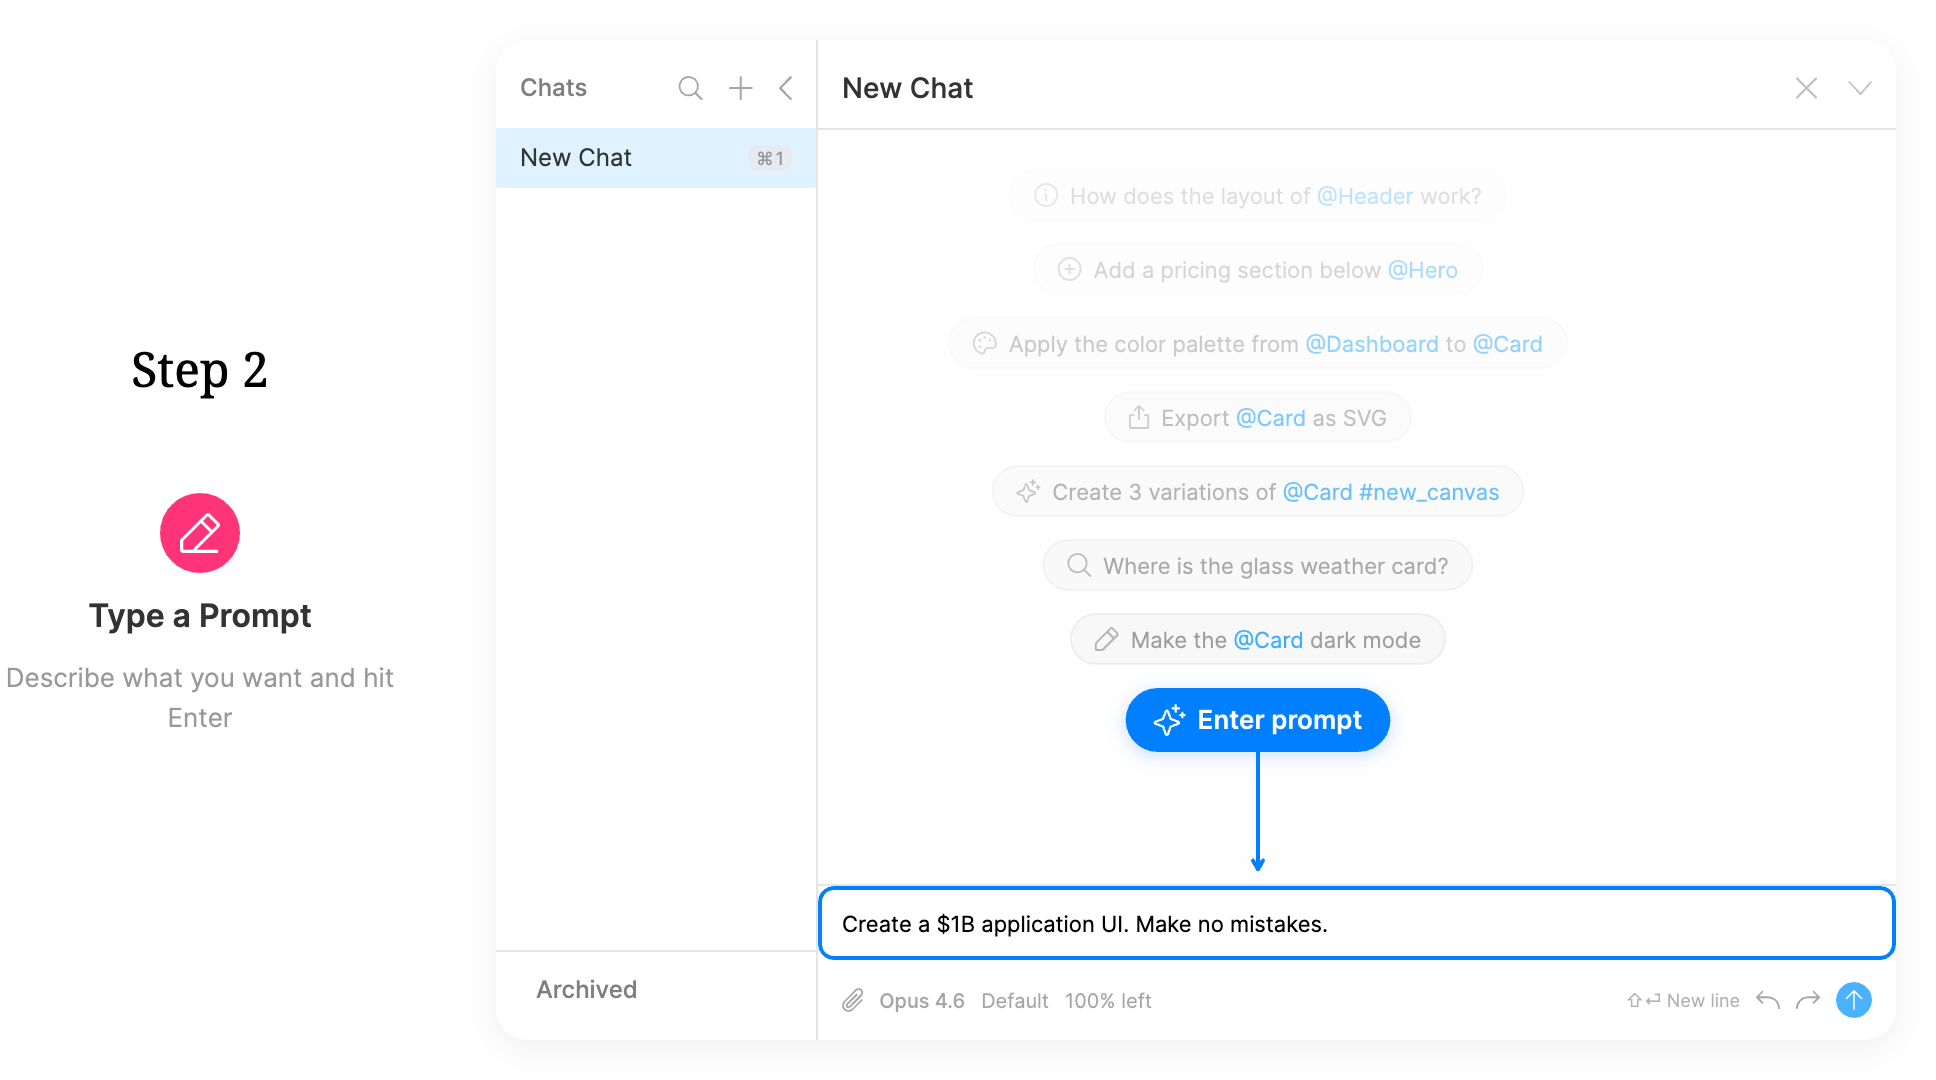
2. Write a prompt
The chat accepts plain-English descriptions of what you want. Don't bother breaking the task into tool calls or step-by-step instructions. Describe the outcome and let the agent pick the tools.
A few examples of prompts that work well:
Create a pricing page with three tiers.Add a hero section above the current design with a headline and a download button.Apply the color palette from @Dashboard to @Card.Make @Card into a dark-mode variant.Export @Card as SVG.Create three variations of @Card in a new canvas.
The simplest way to point the agent at something on the canvas is to copy and paste it. Select any element, hit ⌘C, click into the prompt input, and hit ⌘V. Brilliant drops the element in as a reference chip inline with your text. Works with a single element, a multi-selection, or a whole frame: whatever you had selected is what the agent will see.
If you'd rather type than click, @ references do the same thing from the keyboard. Type @ and Brilliant autocompletes with the names of elements you currently have in the file. @ references are scoped to elements only, not canvas pages or files. You can @-reference multiple elements in one prompt to compose them, like Apply the typography from @DesignSystem to every text layer inside @Marketing.
Attach images and files
Use the attachment button inside the prompt input to attach images, screenshots, or files directly to a message. Handy when you want to hand the agent a reference, a mockup, an exported screenshot, or a logo to work from.
Pick a color
Next to the attachment button is a color pick button that drops you into an eyedropper: click anywhere on screen and the picked hex gets inlined into your prompt. Press ⌃⇧C for the same eyedropper from the keyboard without moving off the canvas. If you'd rather pick from a full palette, press ⌃C to open the color selector.
Hit Enter to send. If you want a line break inside the prompt instead of sending, use ⇧Enter.
On the control row below the input (the same row as the attach and send buttons) you'll see the model picker (Brilliant AI is selected by default; on your own AI you pick the model) and a thinking-level selector. The default thinking level is fine for almost everything; bumping it up gives the agent more room to reason through longer planning tasks, and you can ignore it until you need it.
Your first message just works on Brilliant AI (the default), which Free includes every month, and part of it can be used before you sign in. On Free, using your own provider key instead is capped at 10 messages a day. When the month's Brilliant AI usage runs out, the next send opens the upgrade page, a page on the command-palette shell (the same overlay as sign in), which names when your usage resets and offers the next paid rung or setting up your own AI; when you hit the daily key cap you can upgrade to Personal or keep going through an external agent over MCP, which is never capped. The message you sent is held and continues by itself once the wall clears (you sign in, upgrade, or connect your own AI). Dismissing the page (Escape, or a click outside it) returns it to the composer as an editable draft. See Plans and billing.
3. Iterate
Very few designs are right on the first prompt, and that's fine. The agent keeps a running transcript of the conversation, so follow-up messages are cheap:
"Make it darker."
"Swap the primary color for #FFDD00."
"Tighten the spacing on the second card."
"Actually, use the same layout as @Hero instead."
Each follow-up sees the full context of the canvas and the previous responses, so you can speak in deltas instead of re-explaining the whole task.
If you want to try a different direction without losing the current one, open a New Chat from the chat list at the top of the panel. With the AI chat focused you can also press ⌘N to spin one up from the keyboard. Old chats stay live until you archive them, so you can jump between parallel experiments the same way you'd keep two drafts open in a text editor.
Next
Use an external editor instead: skip the in-app chat and drive Brilliant from Claude Code, Cursor, Codex, or anything else that speaks MCP. See Connect an Agent for the full list.
Learn the canvas by hand: if you'd rather get fluent with vectors, frames, and auto layout the old-fashioned way, read Quick Tour.