Selection and editing
Selecting things in Brilliant works the way you expect from any design tool, with one twist that trips up people coming from Figma: selection is grouped by frame. This page covers the basics, that twist, and every way to move, resize, rotate, align, and measure what you have selected.
Selecting
Click an element to select it.
Shift-click to add or remove elements from the selection.
Drag on empty canvas to marquee-select everything the rectangle touches.
Double-click to drill into a frame or group and select the element under your cursor directly.
Select all in the current context with ⌘A.
Once something is selected, drill and step through the hierarchy with the keyboard:
Enter drills into the selected frame and selects its contents. ⇧Enter walks back up to the parent.
Tab and ⇧Tab cycle the selection through sibling elements at the same level.
The per-frame selection model
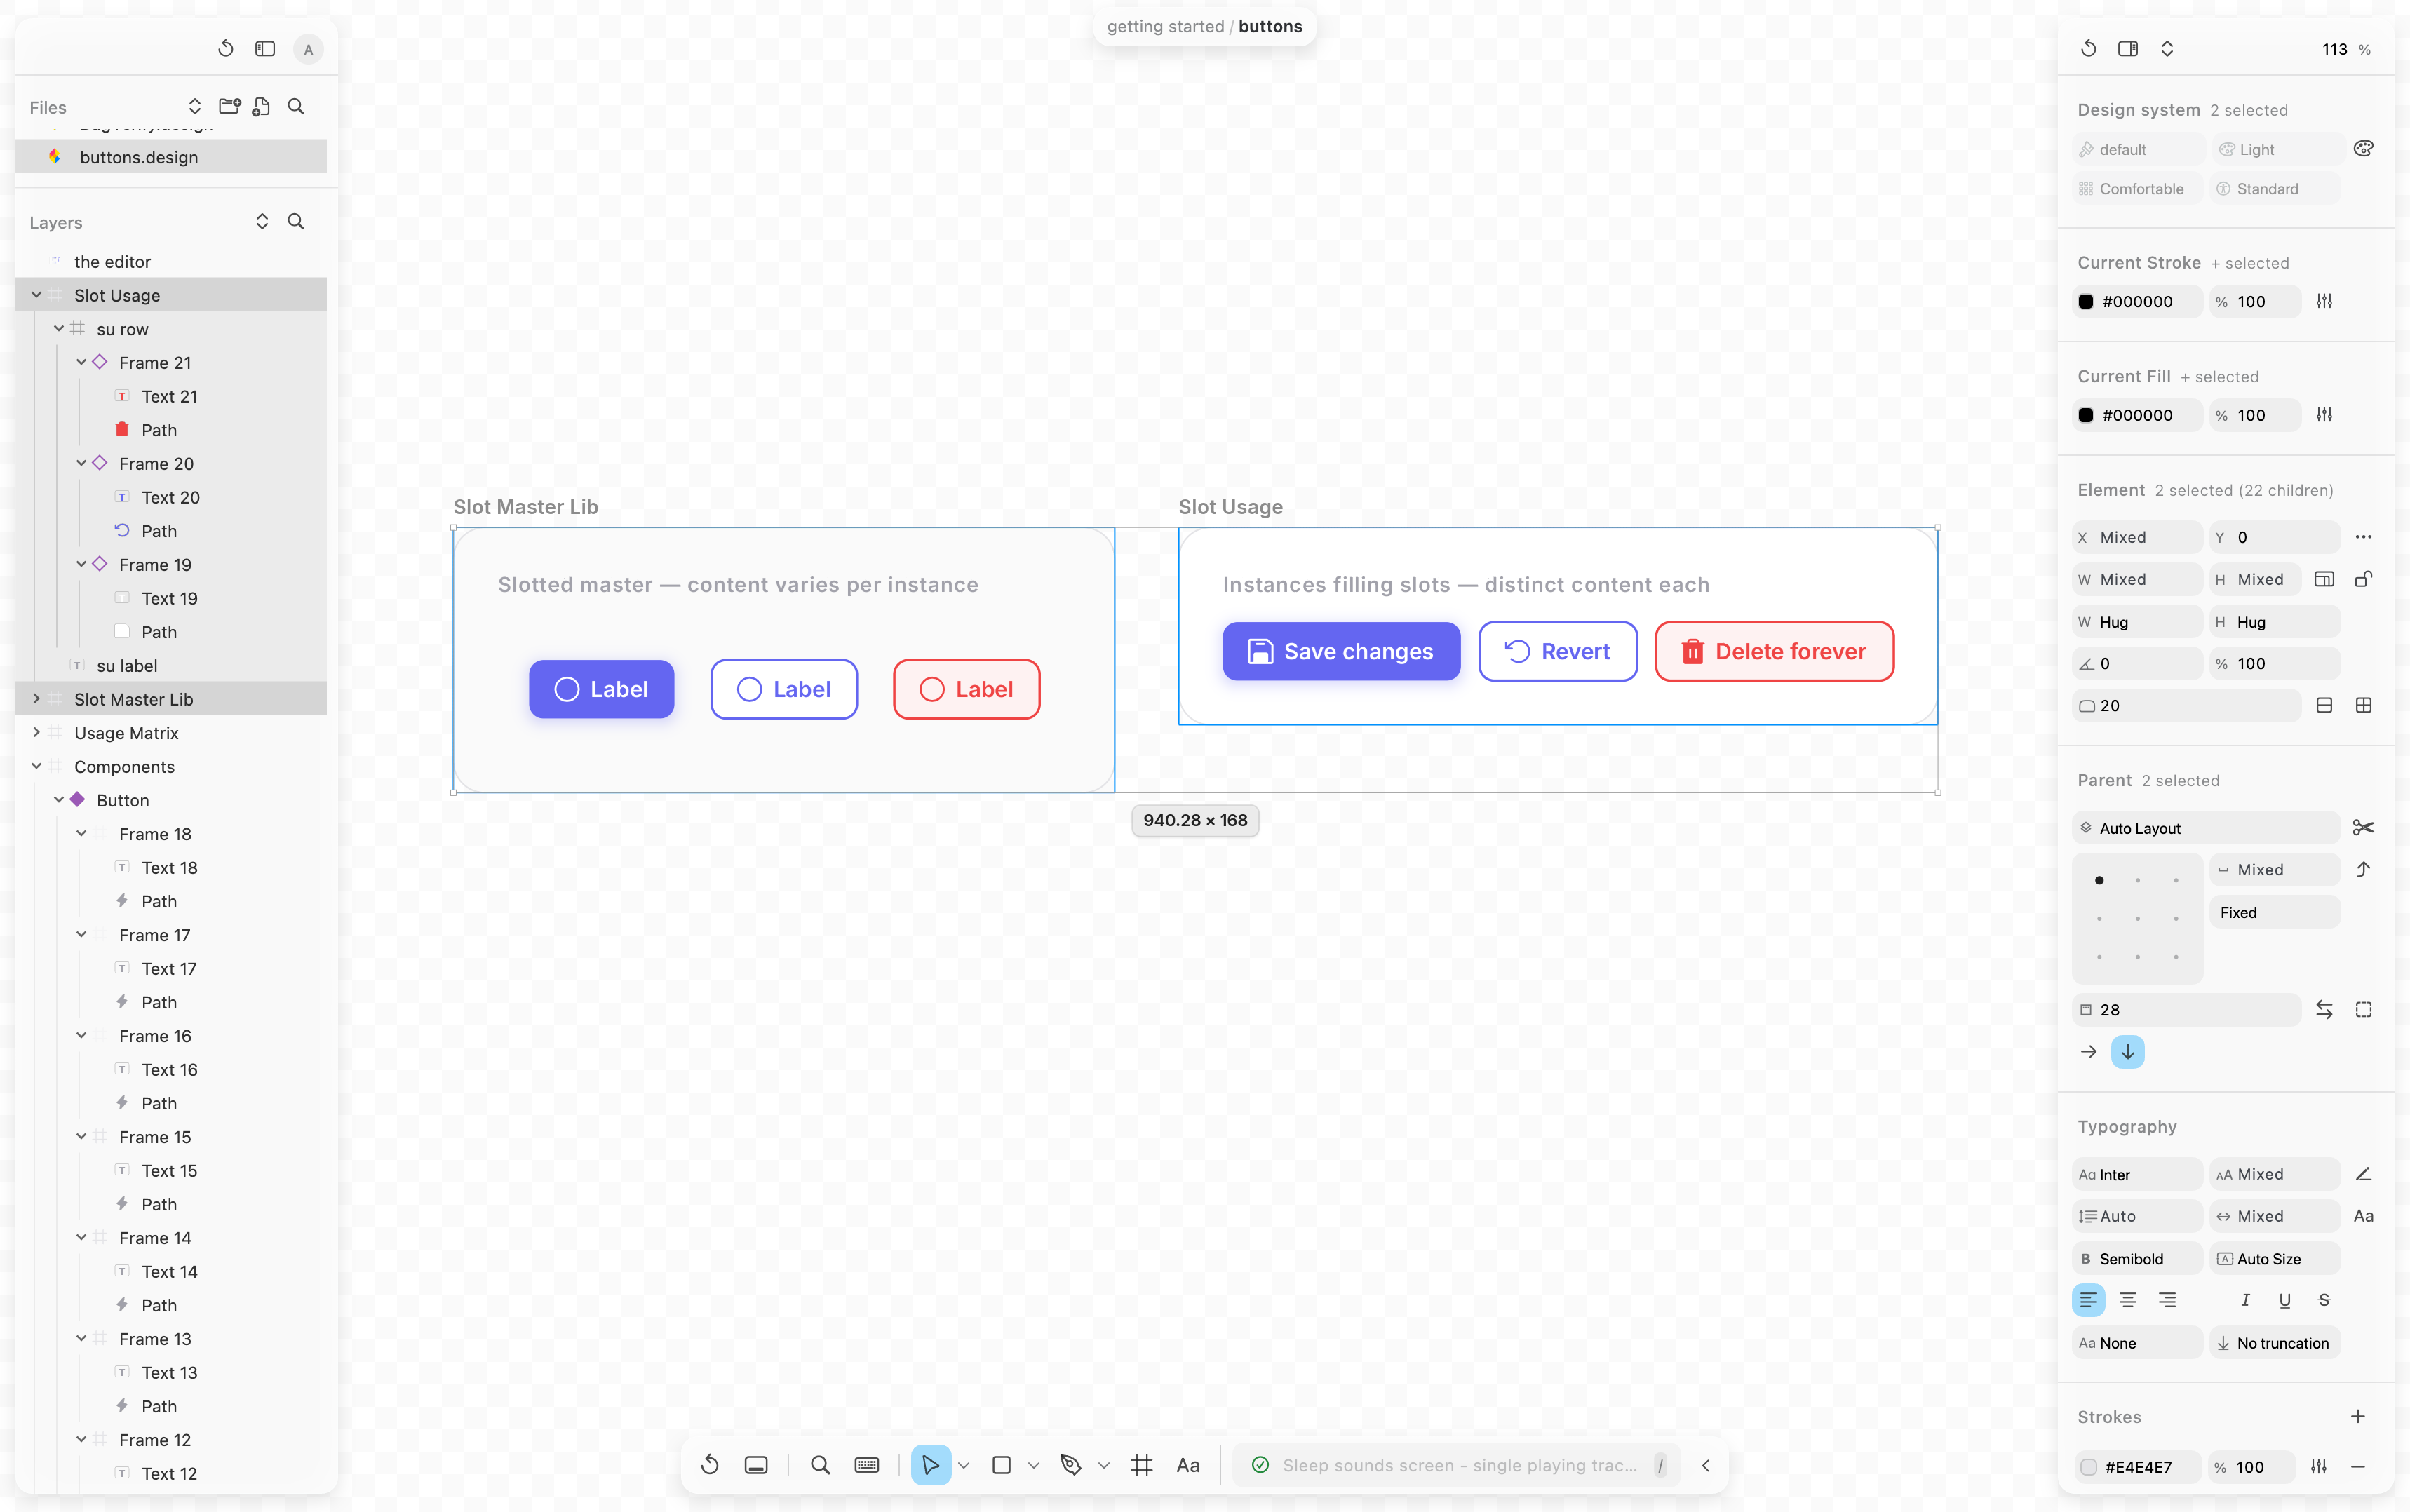
Here is the twist. When your selection spans more than one frame, Brilliant draws a separate selection rectangle for each frame, each with its own handles. Select two elements in Frame A and three in Frame B, and you see two rectangles, not one box around all five.
This is deliberate, and it makes multi-frame edits behave sanely. Every operation runs once per frame, in that frame's own coordinate space:
Align Left aligns the elements in Frame A to each other, and the elements in Frame B to each other, independently.
Resize drags each frame's selection by its own handles.
When everything you have selected lives in the same parent, this is invisible: you get one rectangle and it behaves exactly as you would expect. The per-frame behavior only shows up when a single selection reaches across frames.
Moving
Drag with the Move tool.
Nudge with the arrow keys, one pixel at a time. Hold Shift with an arrow key to jump ten pixels.
Duplicate in place with ⌘D, or hold Option and drag to pull out a copy.
Resizing and rotating
Resize by dragging any handle. Hold Shift to keep the proportions, or Option to resize from the center.
Rotate by moving your cursor just outside a corner handle until it turns into a rotate cursor, then drag. Hold Shift to snap to 15-degree steps.
Scale everything (including stroke weight, corner radius, and text) instead of stretching the box by switching to the Scale tool with K.
Aligning and distributing
Alignment runs per frame, so it does the right thing even across a multi-frame selection. The align buttons live in the right toolbar, and each has a shortcut:
Align edges: left ⌥⇧L, right ⌥⇧R, top ⌥⇧T, bottom ⌥⇧B.
Align centers on a shared horizontal axis with ⌥⇧H, or a shared vertical axis with ⌥⇧V.
Center within the parent: horizontally with ⌥H, vertically with ⌥V.
Distribute three or more elements into even gaps: horizontally with ⌃⌥H, vertically with ⌃⌥V.
Measuring with Alt
Hold Option and hover over another element while you have a selection. Brilliant overlays the exact distance between them, with a solid measurement line and a pixel label. Hover a frame that contains your selection, and it shows the padding on all four sides instead. Nothing changes on the canvas: measurements are read-only, and they update live as you nudge.
Snapping
As you drag, resize, or create, Brilliant snaps to the things around you: edges and centers of nearby elements, matching gaps between siblings, and equal sizes. Snapping stays within the frame you are working in, so it never yanks an element toward something in a different frame. A pixel-grid snap keeps everything on whole pixels; toggle it with ⌘⇧'.
Z-order, hiding, and deleting
Bring to front ] or send to back [. Step one layer with ⌘] and ⌘[.
Hide or show the selection with ⌘⇧H.
Flip horizontally with ⇧H or vertically with ⇧V.
Delete with Delete. Standard ⌘C, ⌘X, and ⌘V copy, cut, and paste.
Next
Group and contain elements: Frames and auto layout.
Move around the canvas: Canvas navigation.