The Editor
This is the heart of Brilliant: the canvas where you draw, and the four toolbars that surround it. This page is the map. It names every region, explains the two things that surprise people coming from other tools (per-canvas undo and no save button), and links out to a page for each part of the editor.
If you have never opened Brilliant before, start with the Quick Tour instead. This page assumes you have the app open and want to know where things are.
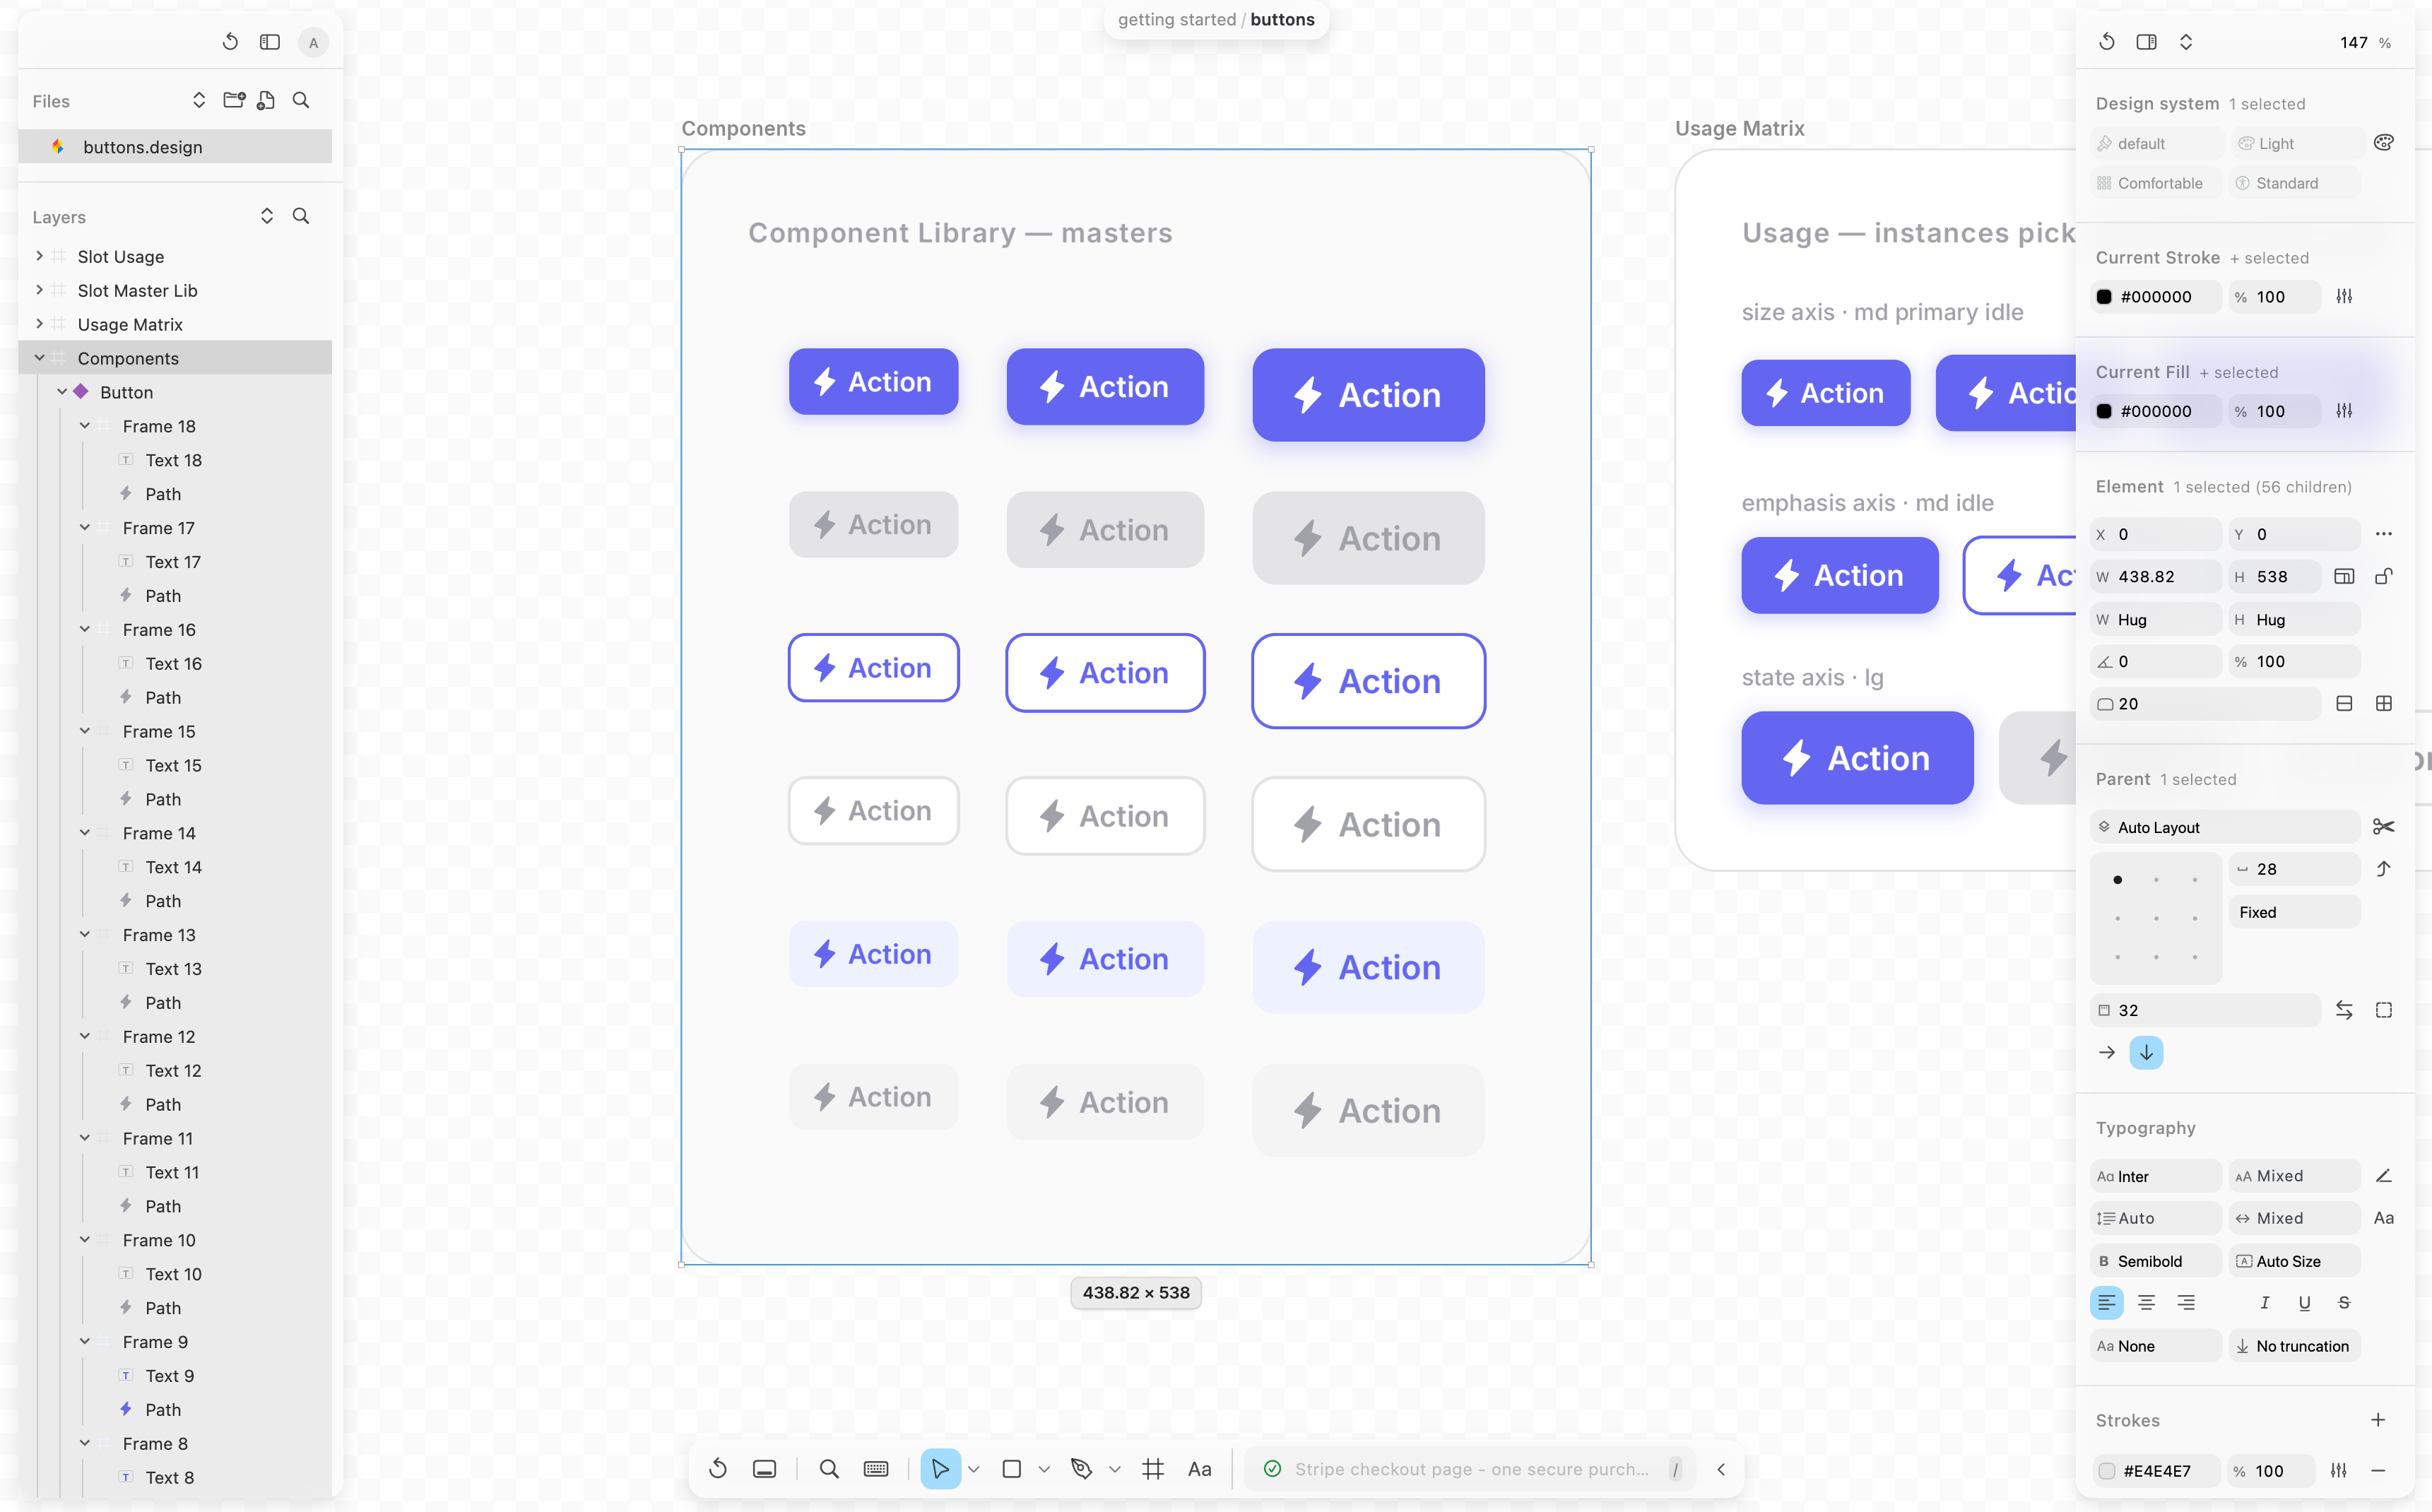
The four toolbars
Brilliant frames the canvas with one toolbar on each edge. Learn what each is for and you always know where to look.
Top toolbar: one island spanning the top edge. On the left is the home button; to its right sits a tab for each open project, so you can jump between projects and back to home. In the web editor and the overlay, where there is no tab strip, the island instead shows the breadcrumb for the active canvas, as workspace / folder / canvas.
Left toolbar: your project tree and layer list. The top half lists every canvas in the document; the bottom half lists every element in the active canvas, nested the way the canvas nests. On the home screen this panel swaps to home content instead: your avatar, a search field, the + New button, and the Recent / Local / Synced / Cloud switcher.
Right toolbar: the property inspector. Its contents follow your selection (fill, stroke, effects, typography, layout, frame properties, and so on). With nothing selected, it shows document-level settings.
Bottom toolbar: the tool switcher on the left, and the AI chat input, one / away, on the right.
Canvas: everything else. This is where you design.
You can hide any edge to reclaim space: ⌘⇧ArrowLeft for the left toolbar, ⌘⇧ArrowRight for the right, ⌘⇧ArrowDown for the bottom. ⌘\ hides all UI at once for a clean look at your work.
Everything is a search away
The single shortcut worth learning first is ⌘K. It opens a global palette that finds and runs anything: commands, canvases, layers, fonts, and chats. Forget where a feature lives? Open the palette, type a few letters, press Enter. Every shortcut in this section is also reachable this way, so you never have to memorize more than you want to.
Where everything lives
Each part of the editor gets its own page:
Tools: every drawing and editing tool, its shortcut, and its modifiers.
Selection and editing: selecting, moving, resizing, rotating, aligning, and Brilliant's per-frame selection model.
Frames and auto layout: frames versus groups, auto layout, sizing modes, layout grids, and masks.
Color and fills: the color picker, top to bottom, plus every fill type from solids to gradients to shaders.
Strokes and effects: stroke options, shadows, glows, blurs, blend modes, and opacity.
Text: creating text, sizing modes, typography, and per-range styling.
Vectors: the pen and pencil, vector edit mode, nodes and handles, and boolean operations.
Components: masters and instances, component sets and variants, overrides, and sync.
Shaders and filters: animated GPU shader fills and filter fills.
Images and crop: getting images onto the canvas, the four scale modes, and crop mode.
Canvas navigation: zoom, pan, rulers, guides, and the canvas backdrops.
Undo is per canvas
Every canvas keeps its own undo history. Switch to another canvas, make changes, come back, and your first canvas still has its full history waiting: nothing is shared or clobbered across canvases. Switching canvases is itself never an undoable step.
⌘Z undoes.
⌘⇧Z redoes.
Undo covers your edits and the AI's alike, so experiment freely and roll back what you do not like.
Your files save themselves
There is no save button, and you never need one. Every change is written to the .bl file on disk shortly after you stop editing (a brief debounce, so a burst of edits writes once), so closing the app or losing power costs you nothing. The document name in the top toolbar always reflects what is on disk.
Because .bl files are plain-text Blueprint, they drop cleanly into git. You can branch designs, review them in pull requests, and git blame a stray color change the same way you would with code.
.bl file in your file manager or commit it. Autosave covers "I closed the laptop"; a copy or a commit covers "I want a version to go back to."Next
Meet the tools: Tools.
Learn the selection model: Selection and editing.
Design with AI: Built-in AI.