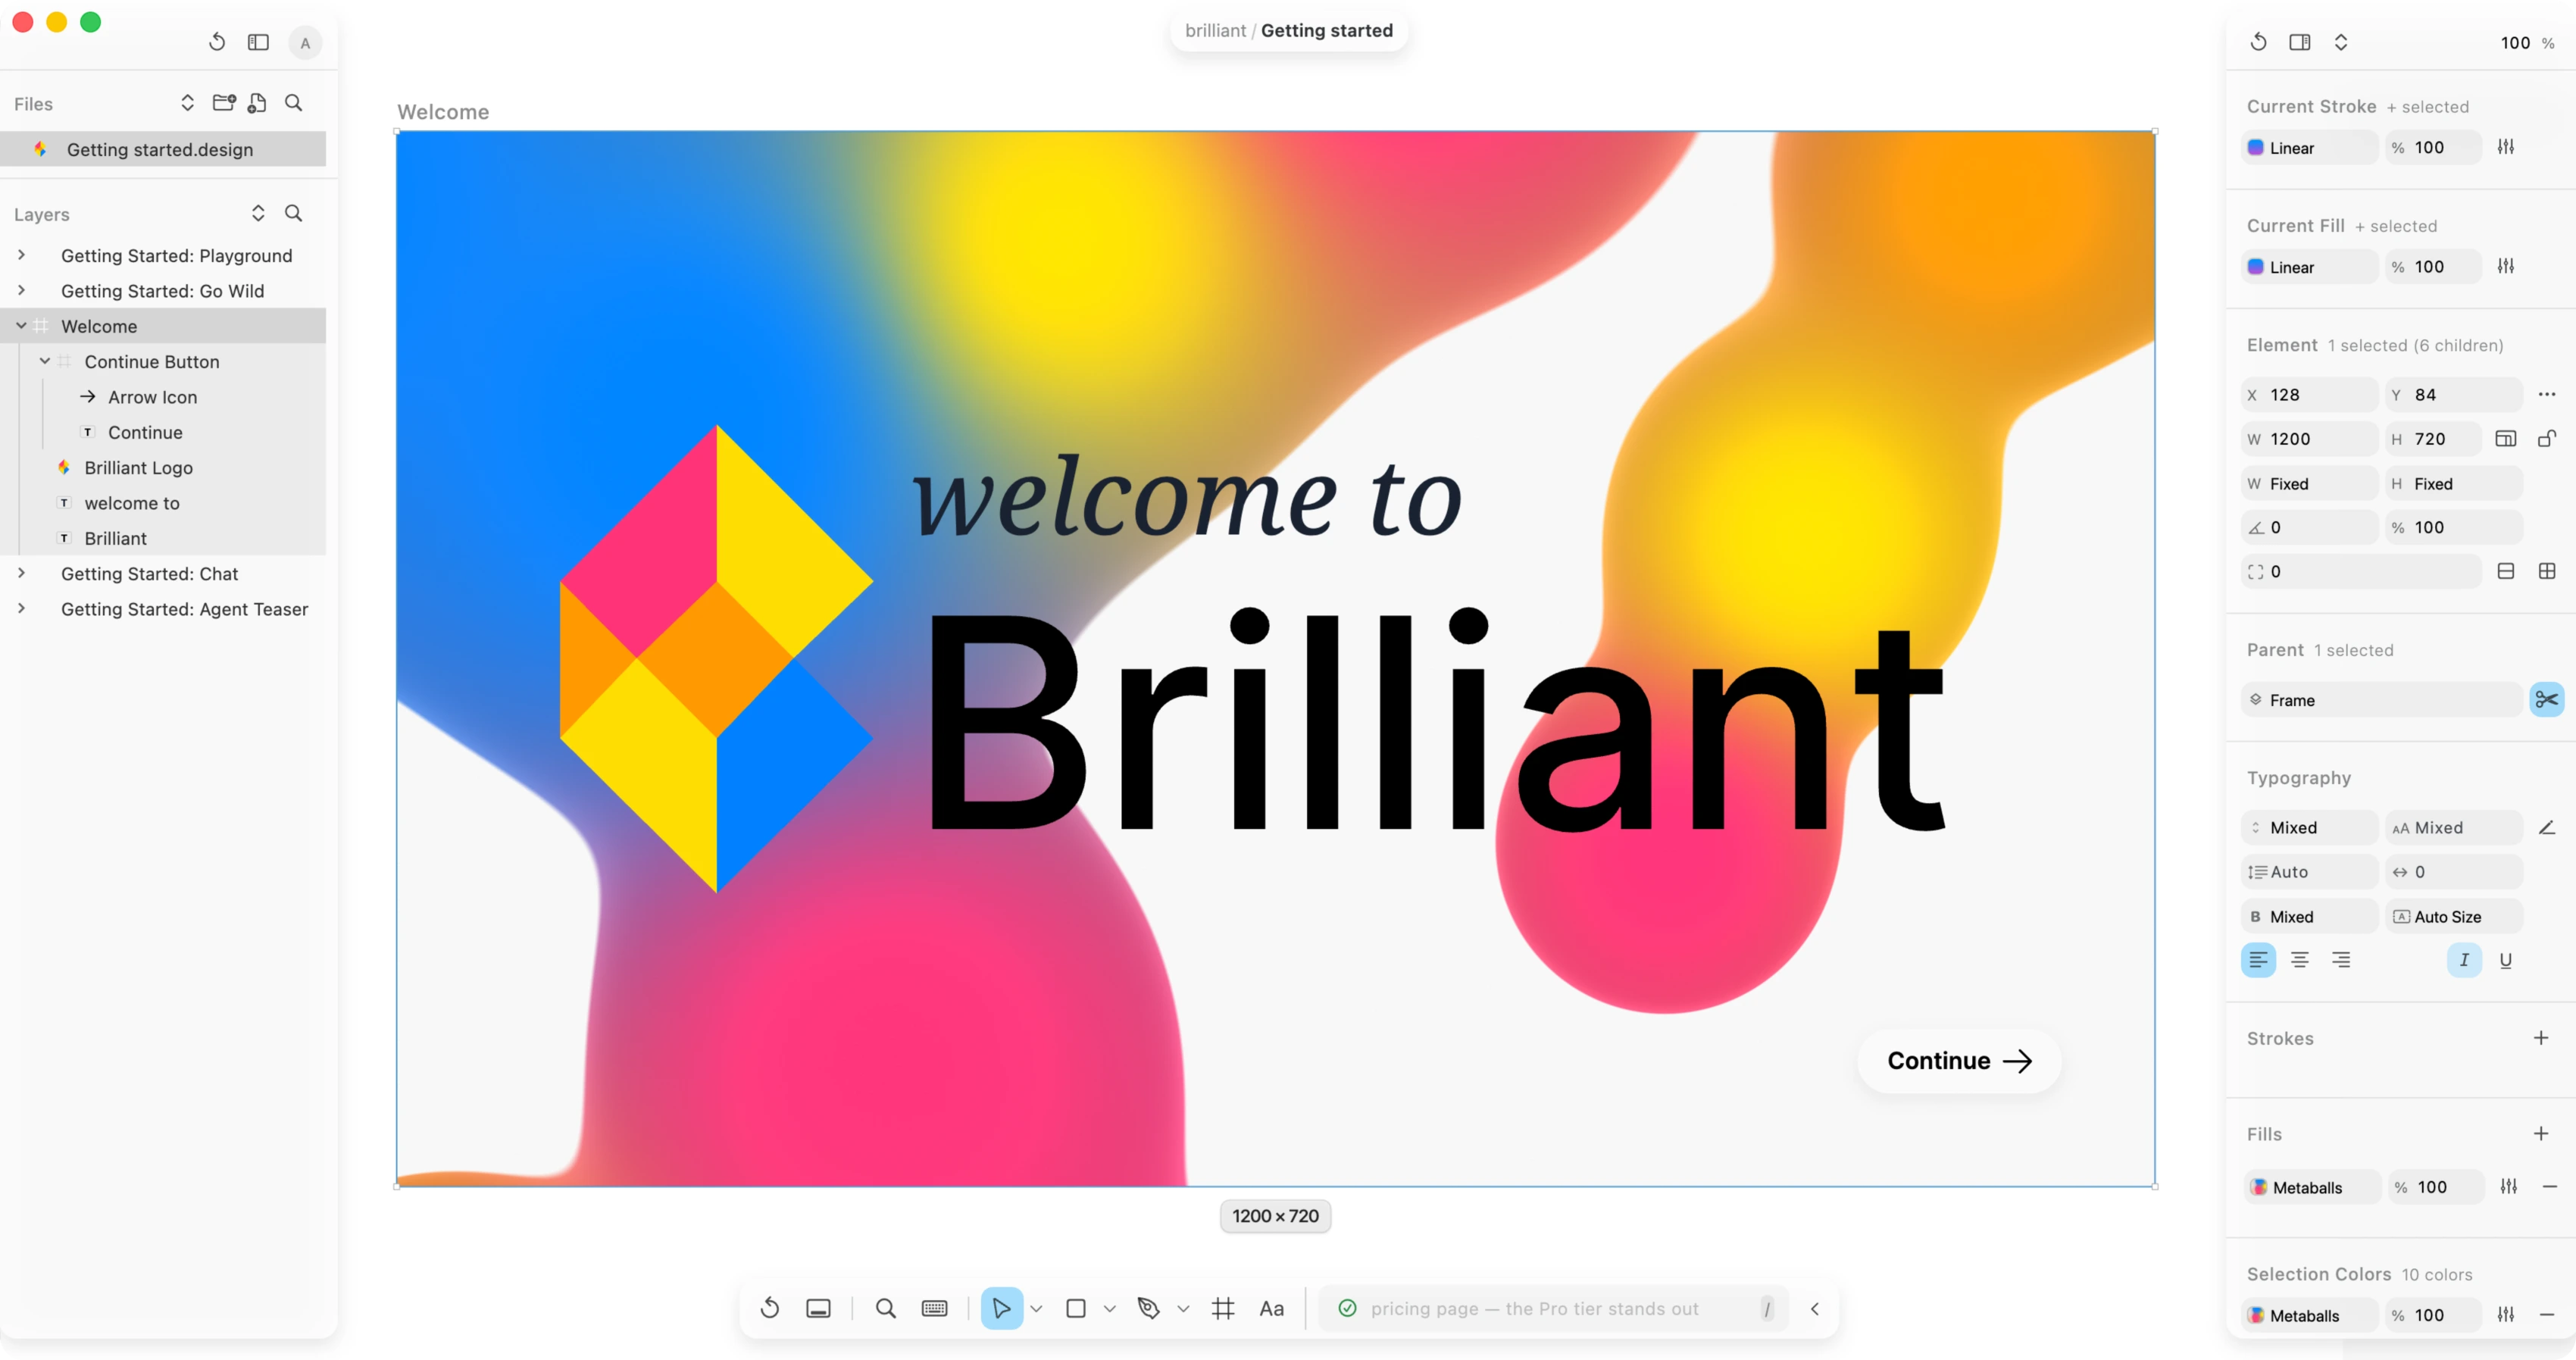
Download & Install
Everything you need to get Brilliant running on macOS or Windows. Grab the installer, run it, and sign in. You'll be on the canvas in a couple of minutes, and a short guided tour runs the first time to show you around.
1. Get the app
Click . It grabs the macOS installer (the .dmg). Need Windows instead? Pick it from the platform chooser to grab the .exe setup.
2. Install it
macOS
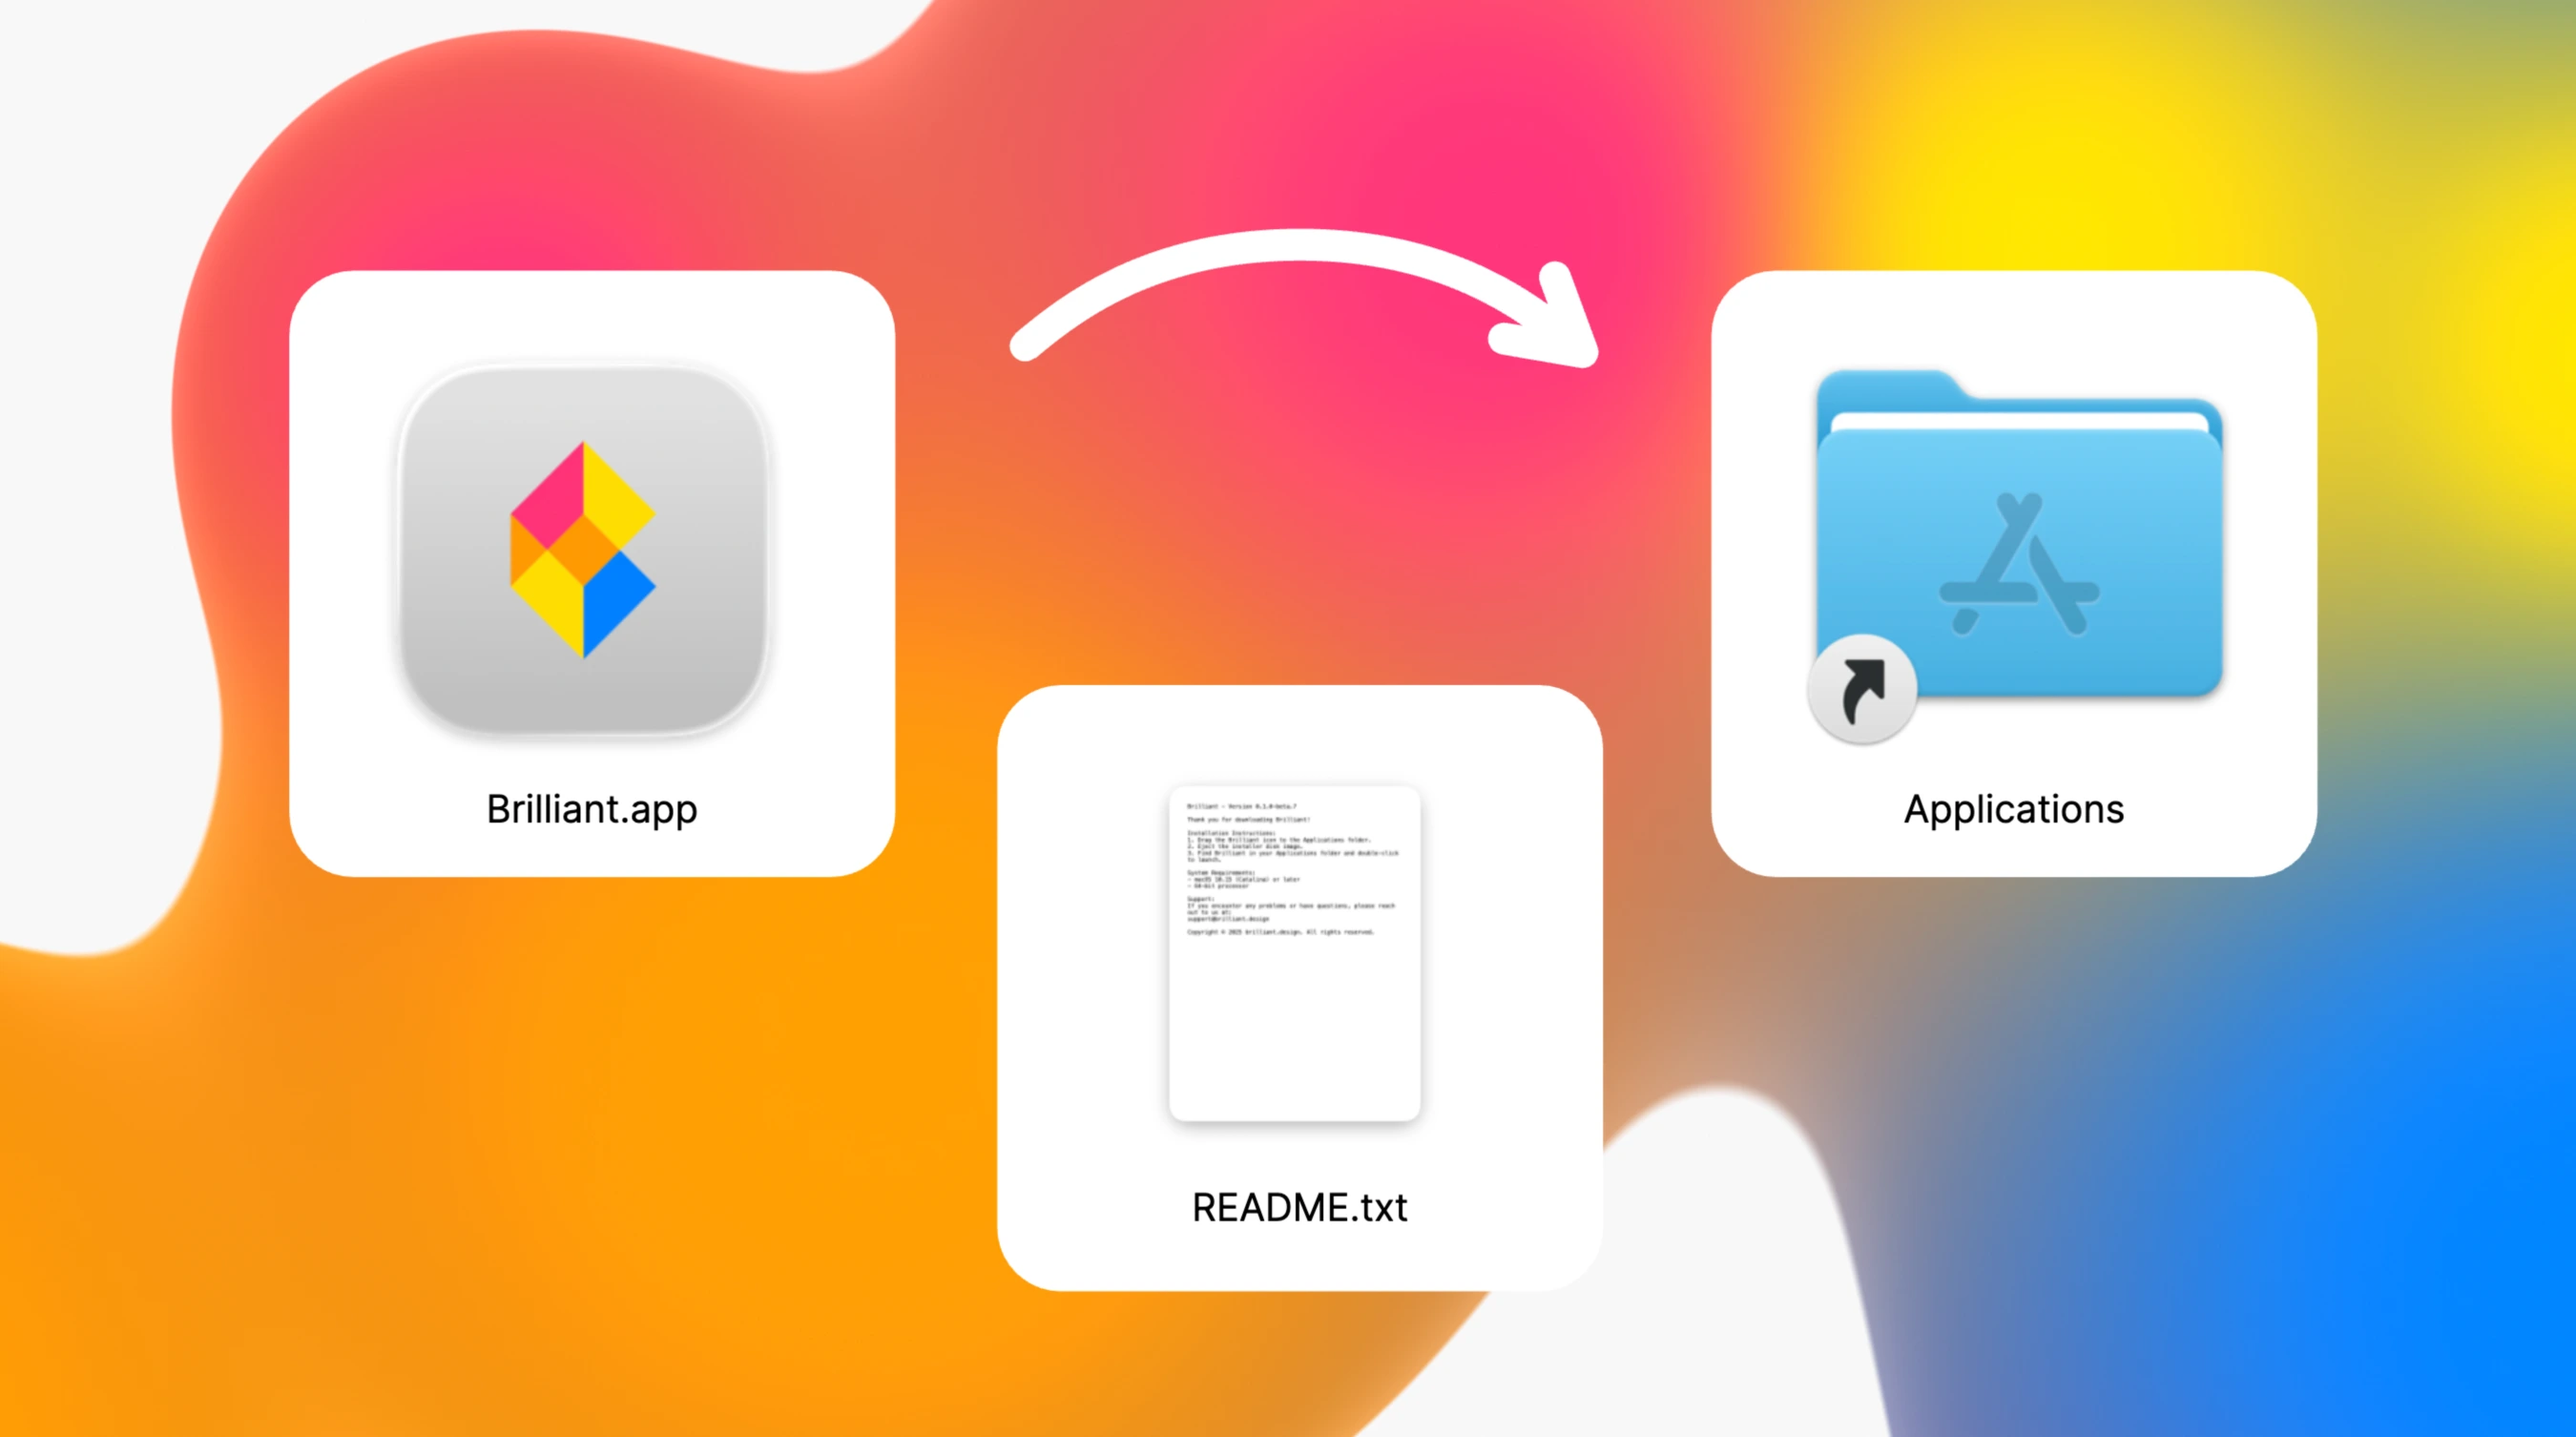
Open the .dmg and drag Brilliant into the Applications folder.
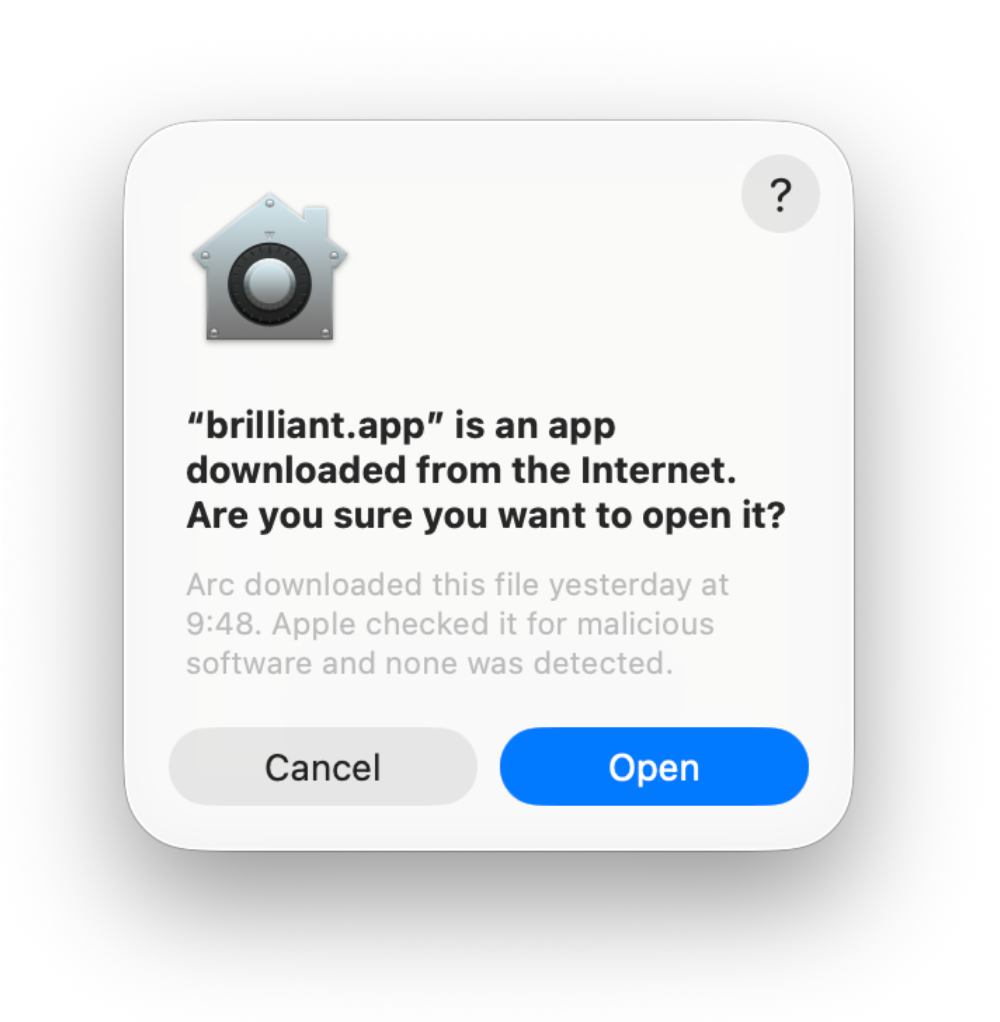
macOS will confirm once. Click Open and you're in.
Windows
Run the downloaded Brilliant-…-Setup.exe. It installs just for you (no admin prompt) and launches when it finishes.
3. Sign in
The first time you open Brilliant, it asks you to sign in. There are no passwords: enter your email and Brilliant sends you a 6-digit code, or continue with Google. The same account signs you in on the desktop app and on brilliant.design.
Brilliant AI on desktop needs version 0.1.0-beta.71 or later; on earlier builds the chat runs on your own AI only, so update the app (it updates itself, or grab the latest installer above).
4. Take the tour
Once you're signed in you land on the canvas, with the AI chat open. A short guided tour runs on this first launch and spotlights the parts of the editor you'll reach for first: watching an agent design, jumping to any element, and running chats side by side. It plays once and steps you through each part in turn.